Sunday, 4 January 2015

K's Christmas Bundle

Hey Guys! We're so sorry that we haven't posted in a while, but i've been completely overloaded with university work and S has been busy getting promoted!! So here's a short but sweet post to keep you up-to-date on a few of my favourite Christmas presents...


So my presents started a little before Christmas day when my parents decided to surprise me with Ice Skating tickets to the Somerset House Skate Rink ! It was amazing, and as it was sponsored by Fortnum & Mason the nibbles and hot chocolate were amazing!


Here's one I got in my santa sack: Benefit's How to Look Good at Everything! It's great and allows you to achieve that flawless complexion everyone's dying for. It includes Pore Professional, Hello Flawles, Boi-ing and 'I Love Me' Ivory


Here are another two for the makeup bag! Benefit's Stay Flawless Primer (and when it says 15-hour is means it!) and my much awaited concealer brush from Mac


As many of you may remember I worked for House of Holland over the Summer and here are some of their adorable Christmas nails which I styled out for the festive period.


Last but not least is my Olivia Burton watch. I've been looking at these for a few months now and was ecstatic when I opened up the box to find i'd been gifted my favourite model! 

Hope you guys liked my Christmas Bundle! I'll be sure to not leave it quite so long before writing a new post.


K. 

SHARE:

Wednesday, 29 October 2014

Halloween Makeup Tutorial : Ragdoll

Here's my second halloween makeup tutorial look - Ragdoll !


Step 1.
Using your choice of powder or face paint, cover your face to make it a pale white colour

Step 2. 
Use a thick white face paint to create a semi-circle shape underneath each eye

Step 3. 
Using black and green eye shadows create a bruised/bag effect underneath each eye

Step 4. 
Using black eyeliner, create a lash effect underneath the white semi-circles

Step 5. 

On your upper lids draw on a thick black liner to cover your whole lid using eyeliner and eyeshadows

Step 6. 
Above the thick liner draw on top lashes with black eyeliner

Step 7. 
Use a pink blush to lighten your cheeks

Step 8. 
Use a black eyeliner to create freckle-like dots on your cheeks

Step 9. 
Use a bright pink/red lipstick to create this half lip/heart shape

Your look is complete! Here is the makeup I used to create my look... 


K. 

SHARE:

Sunday, 26 October 2014

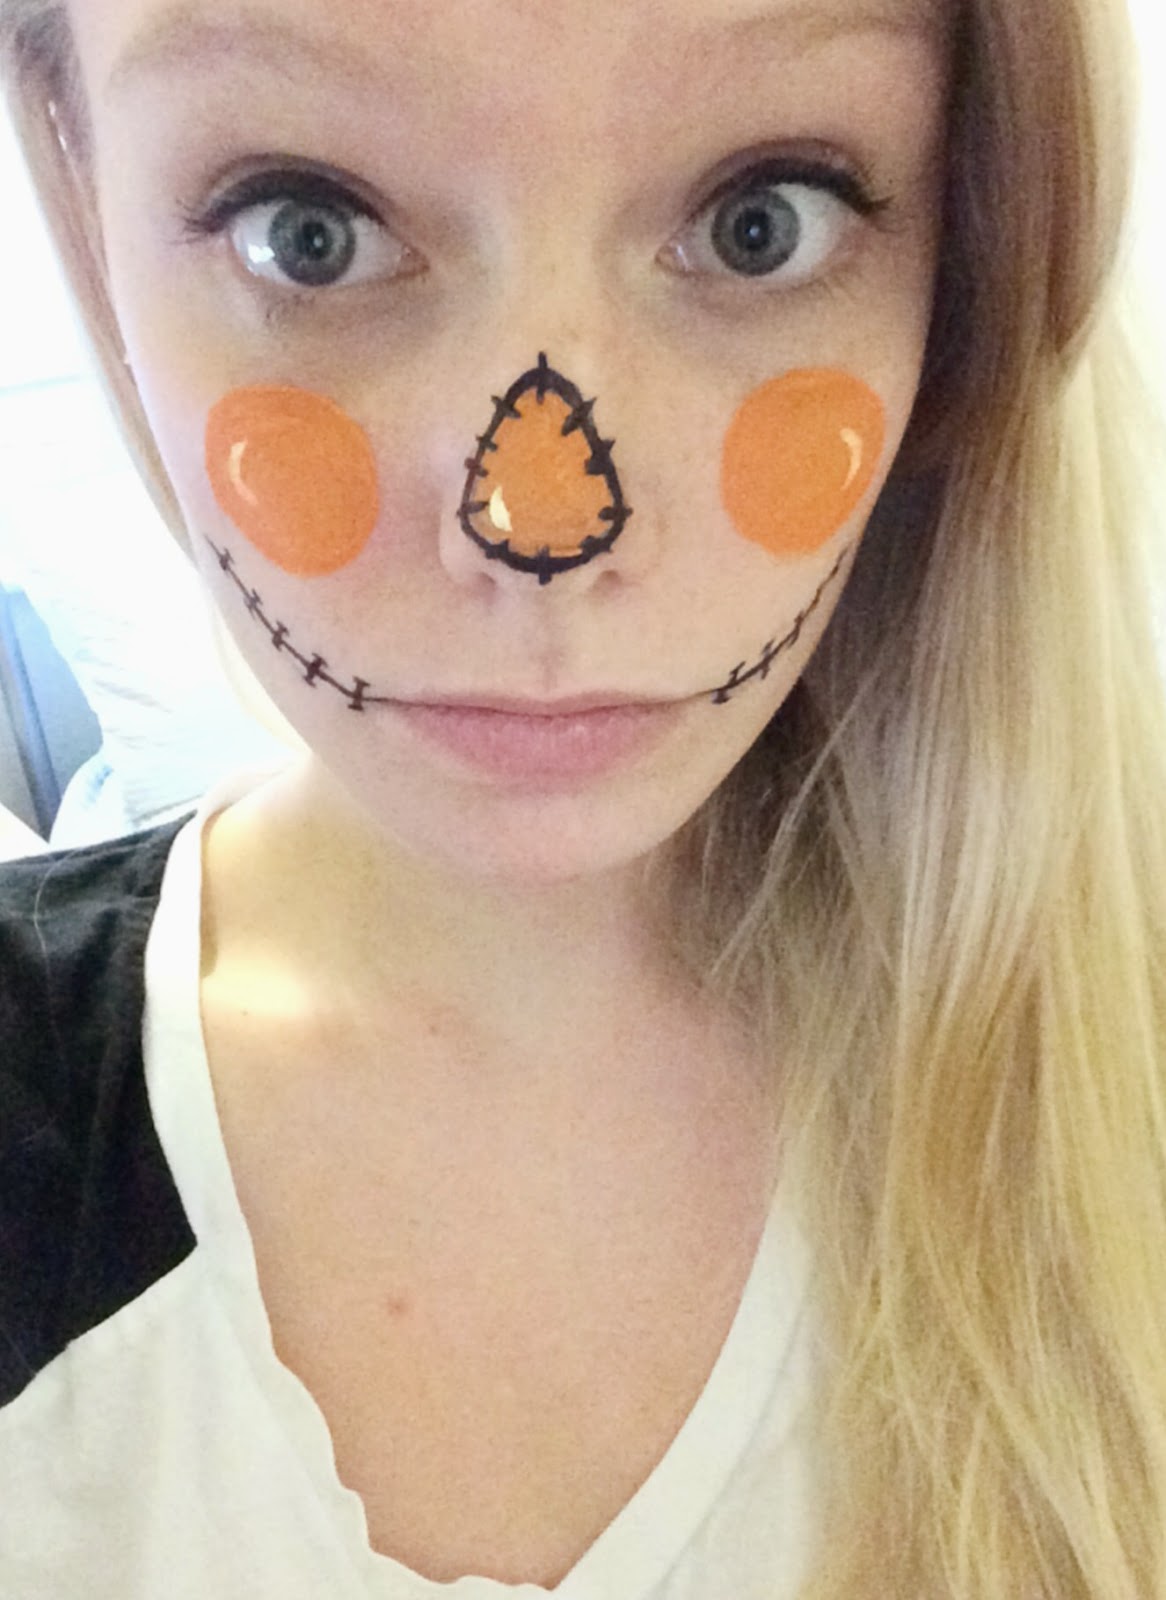
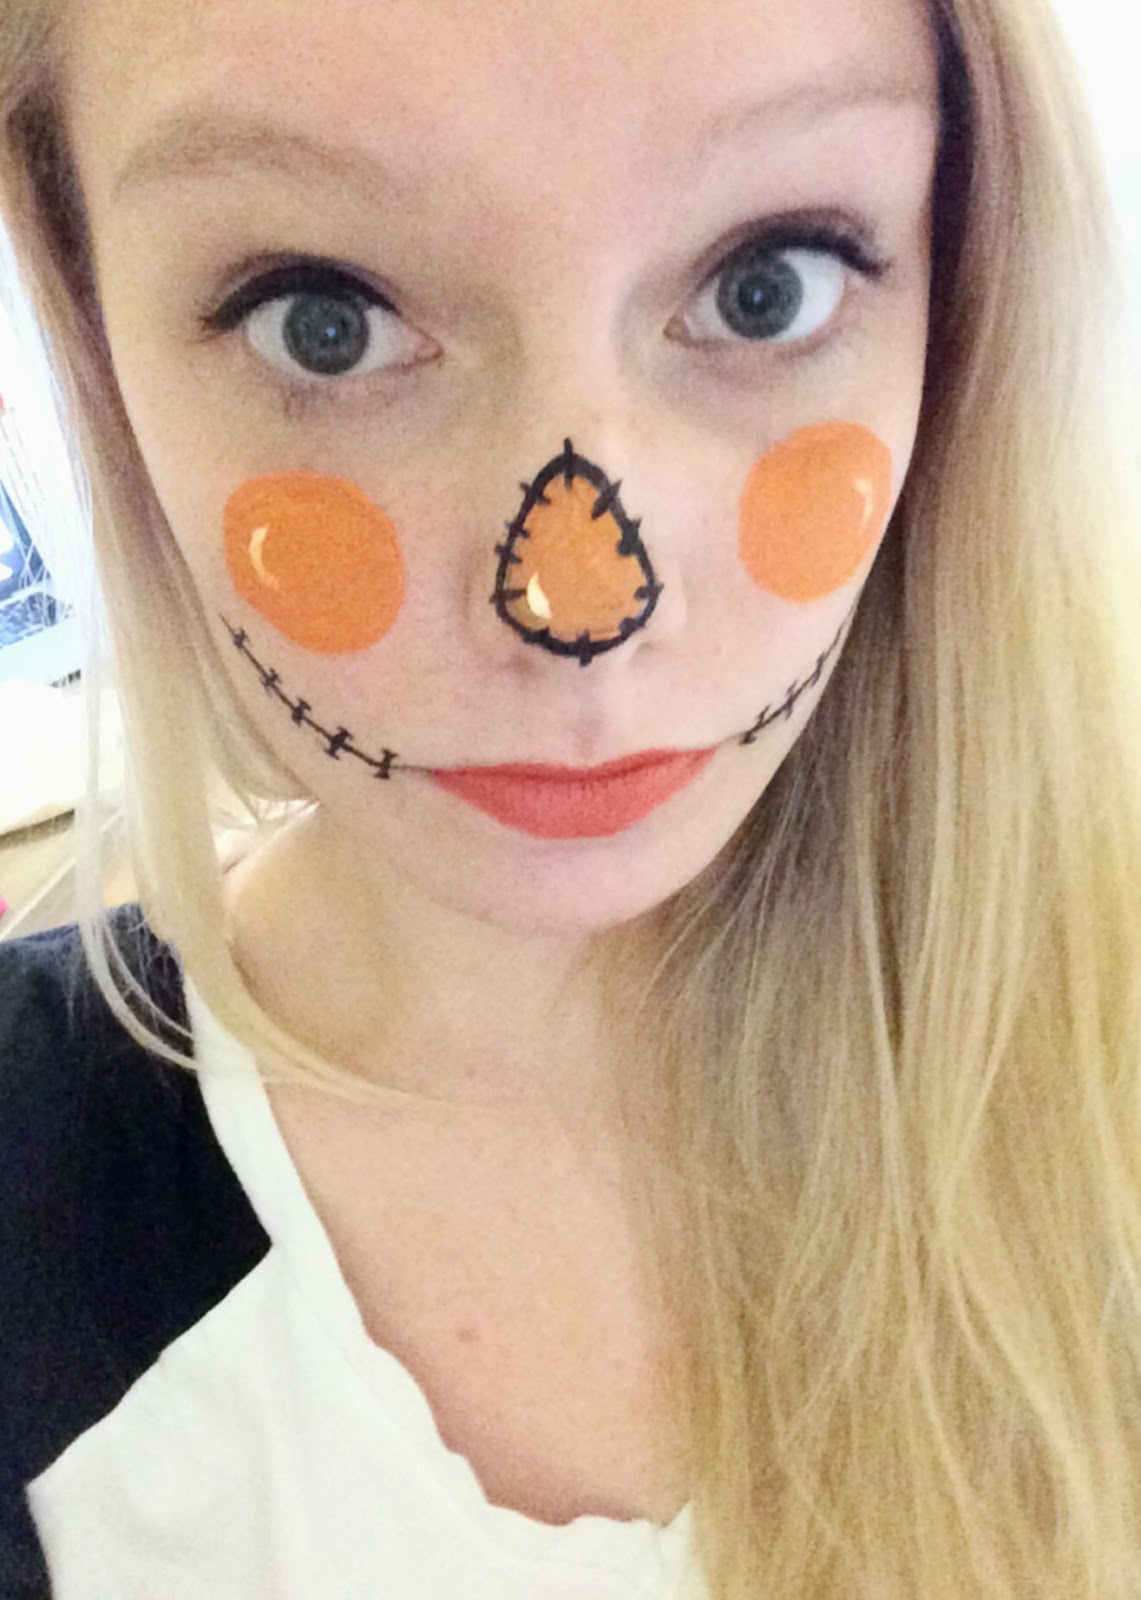
Halloween Makeup Tutorial : Scarecrow

It's almost Halloween! So here the first of my spooky makeup tutorials....


 My First look is the Scarecrow, not a traditional halloween costume but a great last minute costume if you haven't got a pair of fangs or a broomstick! 


Step 1.

Simply using liquid eyeliner draw a curved line either side of your mouth. Then draw 5 small lines vertically along these lines giving them a T shaped edge.

Step 2. 


Again, using the liquid eyeliner, make a egg shape on your nose, them fill this with orange face paint.

Step 3.

Make stitch marks around the egg shaped patch.

Step 4. 

Using the orange face paint, draw a circle on each cheek.

Step 5.

Using white face paint and a thin makeup brush, draw a white mark on each orange spot.

Step 6.

Choose your selection of orange/coral lipstick

Step 7.

Using the liquid eyeliner, draw two thick lines below each eye.

Step 8.

Finally, add in black lines below your eye to create a stitched/ drawn on effect. 


Step 9.

Add your choice of costume and you're ready to go! 


Here are the products that I used to create my look...


K.


SHARE:

Friday, 13 June 2014

One face, 3 occasions.


This post I am going to talk a little bit about how easy it is to transform a look by just changing the lip colour.

With for this I just did a really quick base, using Benefit Bigger Than BB Big Easy in No 5 - Beige.


Then I threw on some concealer, today I used NARS Radiant Creamy Concealer in Medium1 - Custard. This I blended in with my Real Techniques Complexion sponge. I also did some super quick and basic contouring on my cheeks, temples and jaw for which I used Kevyn Aucoin Sculpting Powder in Medium which I, of course, blended in a little.  


Next step was the brows, I went for quite a strong brow due to the simplicity of this look. I used Benefit Gimme Brown in Medium/Deep then defined them slightly more with the Hourglass Arch Brow Sculpting Pencil in Dark Brunette. 

The most important part of this is keeping the eyes super simple, I opted with just a tad of black gel eyeliner on my eyelids and top it all of with some mascara (L'oreal Volume Million Lashes Excess).


This look is something that I would wear to work, understated and sophisticated. The lipstick I have on Is Mac in Matte in the shade A83 - Kinda Sexy which is now available in the UK (yay).


This lipstick is a surprise member of my collection, I bought it from New Look and its made by Gold by Giles and it's in the colour Flare. I couldn't resist buying this purely because of the fabulous colour but was pleasantly surprised because it is not a bad lipstick at all. But this is a perfect look for a summer day.


Last but not least is the evening look, this would look perfectly good in any London bar for Friday night drinks, the perfect transition. This lipstick is again by Mac (sometimes you just can't beat Mac) this is again in a Matte finish and in the colour A93 - Russian Red. This is a PERFECT true red and the matte finishes means that it is super long lasting, perfect for a night on the town. 


SHARE:
© In The Life Of.... All rights reserved.
Blogger templates by pipdig